Create Application Link From Jira to Bitbucket
Before you use application links, you have to ensure that you have the identical system time on the linked systems!
If you want your Jira application to communicate with your Bitbucket, you have to create an application link between these two application. To create an application link in Jira, do the following:
- From the "Administration" menu, select Applications.
- Select Application links from the "Integrations" section in the sidebar on the left.
The "Configure Application Links" dialog is displayed. - Enter the URL of your Bitbucket server and click Create new link.
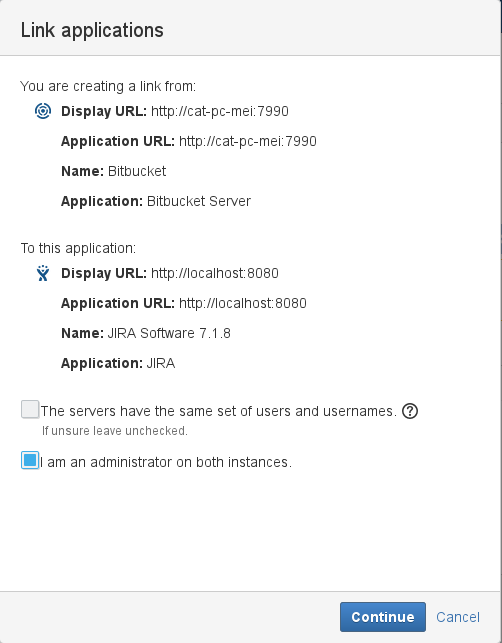
The "Link applications" dialog appears: - Regarding to your environment select or deselect the options:
- The servers have the same set of users and usernames
- I am an administrator on both instances.
- Then click Continue.
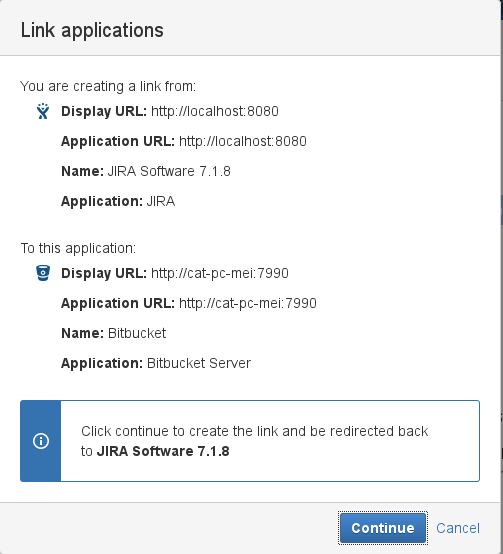
- Because an application link is also created in Bitbucket, you are redirected to Bitbucket and have to authenticate.
The Bitbucket "Link applications" dialog is displayed. - To create a back link, click Continue.
If the applications could be linked successfully, a confirmation is displayed:
When your application link is configured, every user who wants to access Bitbucket via the application link has to authorize once from Jira.
To authorize to access Bitbucket via the application link, open and log in both applications. Then do the following in Jira:
- Select your profile.
In the Activity Stream at the right, you should see a message that you have to authenticate with Bitbucket to see your activities there. - Select Authenticate from the message.
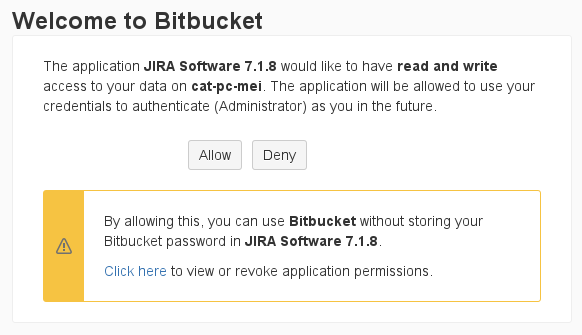
The "Welcome to Bitbucket" dialog is displayed. - To authenticate, click Allow.


