Configure App
To configure the MailTo Custom Field app, do the following on the Jira server:
- Log into the JIRA server as administrator.
- From the Administration menu, select Add-ons.
In the left side bar there should be a section "MailTo Custom Field" that has the following item: "MailTo Custom Field Configuration"
- Click MailTo Custom Field Configuration.
The "Source Customfield for receiver" dialog is displayed: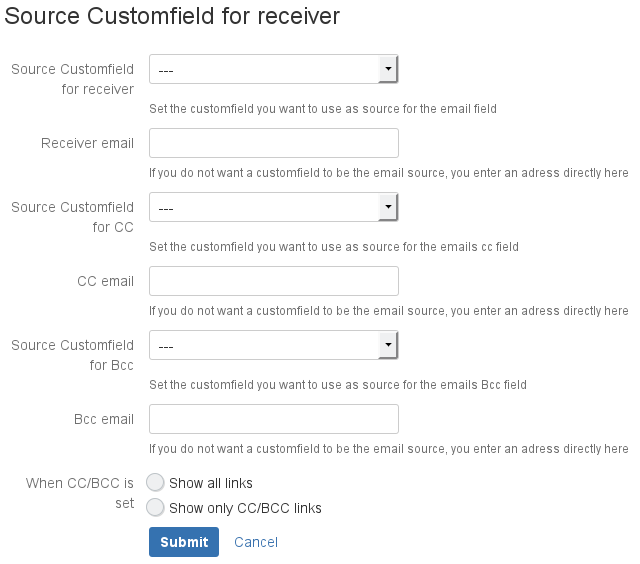
- Enter the following information:
: Select the custom field you want to use as source for the email field. Select "---" if you do not want to use a custom field that contains the receiver's email address.
For example, select the custom field that includes the email address of your contact person.
: If you do not want a custom field to be the email source (in "Source Customfield for receiver"), you enter an address directly here.
- : Select the custom field you want to use as source for the email CC field. Select "---" if you do not want to use a custom field that contains the CC email address.
- : If you do not want a custom field to be the email source (in "Source Customfield for CC"), you enter an address directly here.
- : Set the custom field you want to use as source for the email Bcc field. Select "---" if you do not want to use a custom field that contains the BCC email address.
- : If you do not want a custom field to be the email source (in "Source Customfield for Bcc"), you enter an address directly here.
- :
- . Displays all links when CC and/or BCC is set.

- . Displays only CC and/or BCC links when CC and/or BCC is set.

- Click Submit.
If you use an email handler for incoming emails in Jira, you can add its email address to CC or BCC and ensure that all communication is documented as comment in the issue.