...
| Note |
|---|
Before installing the Add-On you need to determine which JIRA and OTRS versions you are running. |
The catWorkX OTRS Integration for JIRA from catWorkX, you can purchase on the Atlassian Marketplace.
Content of this section:
| Info |
|---|
To use all features of the catWorkX OTRS Integration for JIRA, you also have to install the catWorkX JIRA Configuration Handler on your JIRA server. This add-on is already included in the OBR-file.
|
Install Add-On
To install the catWorkX OTRS Integration for JIRA using the Universal Plugin Manager (UPM), do the following:
- Log into the JIRA server as administrator.
- From the Administration menu, select Add-ons.
- By default, you should see Atlassian Marketplace for JIRA dialog in the right frame. Select Manage add-ons in the side bar on the left.
- Select Upload add-on.
- Browse for the JAR file and select it.
- In the "Upload add-on" dialog, select Upload.
- In the confirmation dialog, select Close.
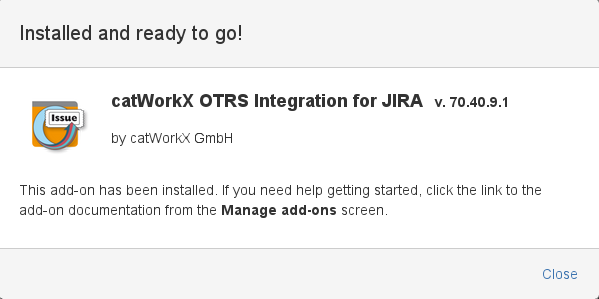 Image Added
catWorkX OTRS Integration for JIRA should be listed in the list "User-installed add-ons".
 Image Added
catWorkX OTRS Integration for JIRA does not add any items in the sidebar on the leftOnce you have the information, please visit the downloads page and choose the proper JIRA Add-on and upload it trough your UPM. - The configuration of this add-on is done via a specific config file named 'otrsintegration.properties'.
- Create the config file and save it to a directory named 'conf' in the application-data folder (typically: 'application-data/jira/conf).
- An example file is included in the .jar file inside the .obr file.
- An example is also available here: Configure JIRA Plugin
...
- JIRA Add-on
Uninstall Add-On
To uninstall the catWorkX OTRS Integration for JIRA, do the following on the JIRA server:
- Log into the JIRA server as administrator.
- From the Administration menu, select Add-ons.
- In the left side bar, select Manage add-ons.
- By default the user-installed add-ons are listed in the right frame. The catWorkX OTRS Integration for JIRA should be listed.
- From the add-on list, select catWorkX OTRS Integration for JIRA.
- To uninstall the catWorkX OTRS Integration for JIRA, select Uninstall.
- To confirm, click Uninstall add-on in the confirmation dialog.
- The add-on is removed and a confirmation should appear on the "User-installed add-ons" list.
- If you click the Reload button in your Web browser, the catWorkX OTRS Integration should be removed from the list of "User-installed add-ons".
Disable/Enable Add-On
To disable the catWorkX OTRS Integration for JIRA, do the following on the JIRA server:
- Log into the JIRA server as administrator.
- From the Administration menu, select Add-ons.
- In the left side bar, select Manage add-ons.
- By default the user-installed add-ons are listed in the right frame. The catWorkX OTRS Integration for JIRA should be listed.
- From the add-on list, select catWorkX OTRS Integration for JIRA.
- To disable the catWorkX OTRS Integration for JIRA, click Disable.
- To indicate that the add-on is disabled, the font of the catWorkX OTRS Integration for JIRA entry in add-on list changed from black to gray.
An "Enable" button should appear.
To enable a disabled catWorkX OTRS Integration for JIRA, do the following on the JIRA server:
- Log into the JIRA server as administrator.
- From the Administration menu, select Add-ons.
- In the left side bar, select Manage add-ons.
- By default the user-installed add-ons are listed in the right frame. The catWorkX OTRS Integration for JIRA should be listed.
- From the add-on list, select catWorkX OTRS Integration for JIRA.
- To enable the catWorkX OTRS Integration for JIRA, click Enable.
- To indicate that the add-on is enabled, the font of the catWorkX OTRS Integration for JIRA entry in add-on list changed from gray to black.
An "Disable" button should appear.