Usage
To use Teamworkx Configuration Exporter for Jira follow these steps as system administrator:
- Select Apps form the "Adminstration" menu.
- Select Export Configuration from the "Configuration Export" section in the left side bar.
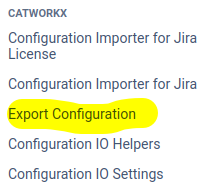
The "Configuration Export" page appears.
Note the
Detected and enabled Config IO Helpers
In the picture above both the
- catworkx Agile config exporter for Jira
- catworkx JSM config exporter for Jira
are ENABLED and will generate additional export files during the Configuration Export. This will not apply to the Backup
For details regarding this framework and the integration, please see catworkx Configuration Import Export Helper for Jira.
- You now have the following options:
- Export only the configuration
- Enter or keep the suggested filename in the input field directly above
- Click on START CONFIGURATION EXPORT
- Once the export is done a success message, see below, will be shown on top
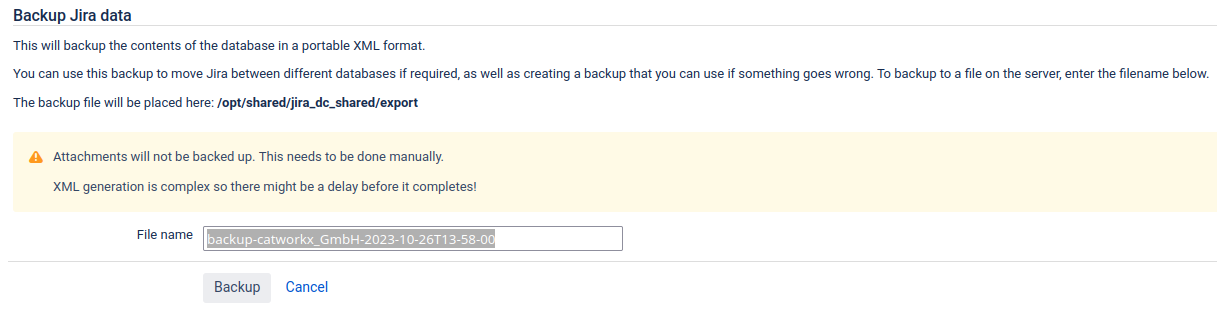
- Backup the system (not available in 8.0.x.x)
- Enter or keep the suggested filename in the input field directly above
- Click on START FULL BACKUP
- Once the export is done a success message, see below, will be shown on top
- Backup the system but anonymize the issue data during the process(not available in 8.0.x.x)
- Enter or keep the suggested filename in the input field directly above
- Check the box "Anonymize"
- Click on START FULL BACKUP
- Once the export is done a success message, see below, will be shown on top
- Export both, the configuration and the backup
- Enter or keep the suggested filename in the first input field (configuration export)
- Enter or keep the suggested filename in the second input field (backup)
 You may also check the box "Anonymize" if you want the backup to be anonymized
- Click on START CONFIGURATION EXPORT AND START FULL BACKUP AFTERWARDS
- Once the export is done a success message, see below, will be shown on top. This will be done for both files individually.
- Switch to the standard backup page
- Click on GO TO BACKUP PAGE
- A new tab or window opens
- The auto generated filename suggestion will be filled in that form automatically.
- Filter the export folder
- Enter a timestamp in Jira format (yyyy-MMM-dd) into the input field "filter"
- Please note the month abbreviation is language dependent. Your Jira system might spell the month differently from normal English spelling
- Changing the value in the input field will automatically be applied
- Enter a timestamp in Jira format (yyyy-MMM-dd) into the input field "filter"
- Download files from the export folder
- All ZIP Archive files, regardless what App generated them will be listed below.
- You can refresh the view by clicking the double circle arrow symbol on the top left of the table.
- Displayed are the filename, the full path in the popup, the modification date, the file size and an icon
- If the icon shows a double circle arrow the file is still being written
- If the icon shows an arrow point downward from the cloud the file may be downloaded by clicking here
- Export only the configuration
If the export was successful, you will get a success message.

The file is stored in the<JIRA-HomeDirectory>/export/directory under the filename you provided in the input fields.
Sometimes the export or backup takes longer than the normal timeout to generate.
You will be shown an error message relating to the timeout.
![]() Simply refresh the page or the table below.
Simply refresh the page or the table below.
![]() A notification message will tell you a backup or export is still running and the table will reflect the status as well. Albeit triggering a backup from the standard backup page will show the file here as well but not it's status.
A notification message will tell you a backup or export is still running and the table will reflect the status as well. Albeit triggering a backup from the standard backup page will show the file here as well but not it's status.