Installation (english)
General information
The installation is devided into two parts. One part is the installation of the Outlook add-in. The second part is the installation of the Jira plugin. It doesn´t matter whether you start with the Outlook or JIRA installation.
Installation Outlook Add-In
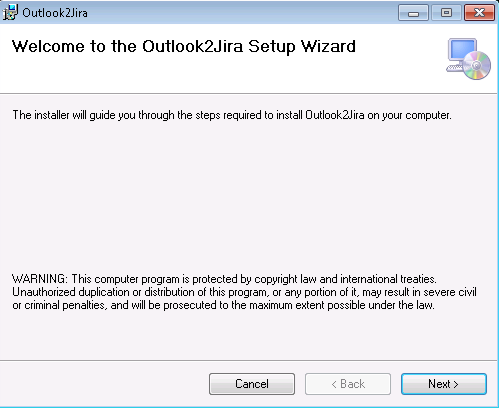
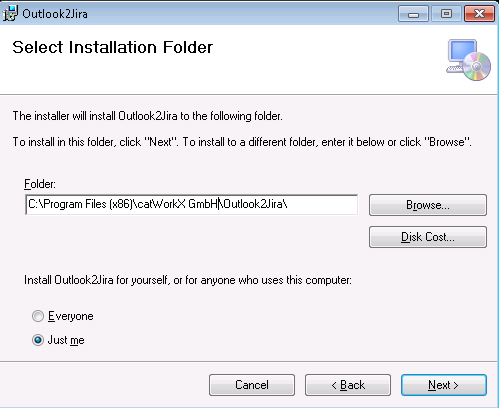
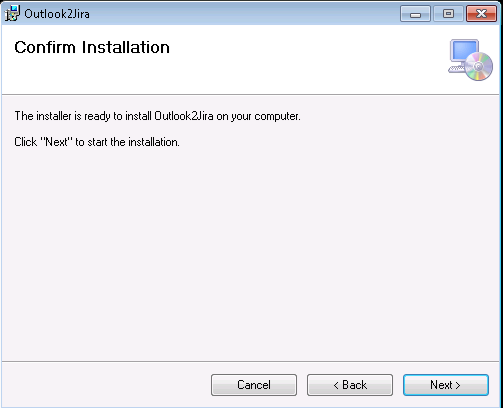
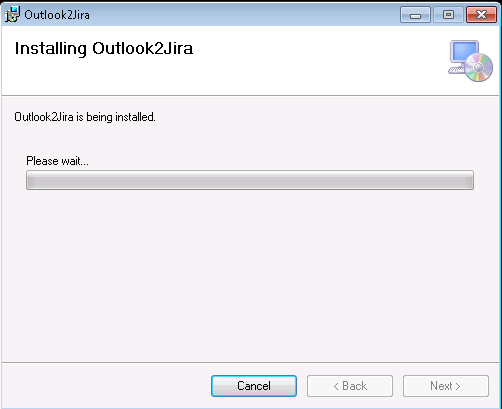
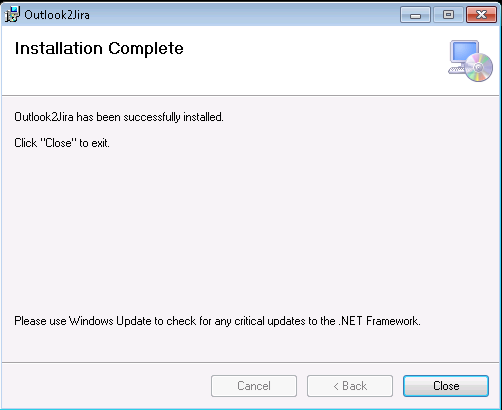
Start setup.exe and the Setup Wizard Outlook2Jira will guide you through the installation (clic onto the picture to enlarge them):
step 1 - welcome screen
step 2 - select installation folder
step 3 - confirm installation
step 4 - installation progress
step 5 - installation completed
Installation Jira-Plugin
To install the JIRA plugin, you´ll need to use the Universal Plugin Manager (UPM). To do so, login as an administrator at your JIRA system. Once logged in go to Administration -> Plugins. Use the search engine of the UPM and search for "outlook2jira". You will be able to install the plugin directly.
If the UPM has no connection to the Internet, it offers to upload the plugin directly and install it. After the installation please use the UPM to install a license. If your UPM does not support license handling yet, please update the UPM or visit the "Outlook2Jira" configuration page within the administrator section. For futher information on how to install plugins, check out the documentation of Jira.

