Configure Jobs
"Resets for Jira" is able to delete change items of an Jira issue on a regular basis. There are several filter options to configure what will be deleted. Cron is used to schedule the deletion jobs.
The deletion job runs in 2 phases:
- Changegroups are marked for deletion.
- If all defined parameters match, all marked Changegroups are deleted - except the ones that are protected by entryLimit.
Do the following as Jira administrator:
- Log into the Jira server as administrator.
- From the Administration menu, select Add-ons.
- Select Configure Jobs from the "Resets for Jira Config" section in the sidebar on the left.

The "Configure Reset Jobs" dialog is displayed.
- Enter the following information:
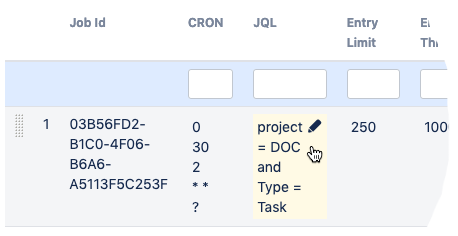
- Job Id = Internal job id, generated automatically
- CRON = CRON expression to define the time of execution
- JQL = JQL query to filter the issues to be computed. If not set <b>ALL</b> issues will be computed.
- Entry Limit = From all Changegroups marked for deletion this number of Changegroups is prevented for deletion.
- Entry Threshold = If the total number of Changegroups exceeds this threshold the deletion of Changegroups is granted.
- Author = Changegroups of this user will be marked for deletion. Enter username.
- Older than x days = Changegroups that are older than X days will be marked for deletion.
- Fields = Enter comma separated field names. If a Changeitem matches one of the fields the related Changegroup will be marked for deletion.
- Executive = The job runs in this users context.
- Status = Switch the job status between ACTIVE, INACTIVE and DRYRUN. DRYRUN performs a testrun without deleting any information.
- Click Add to add the job to the list.

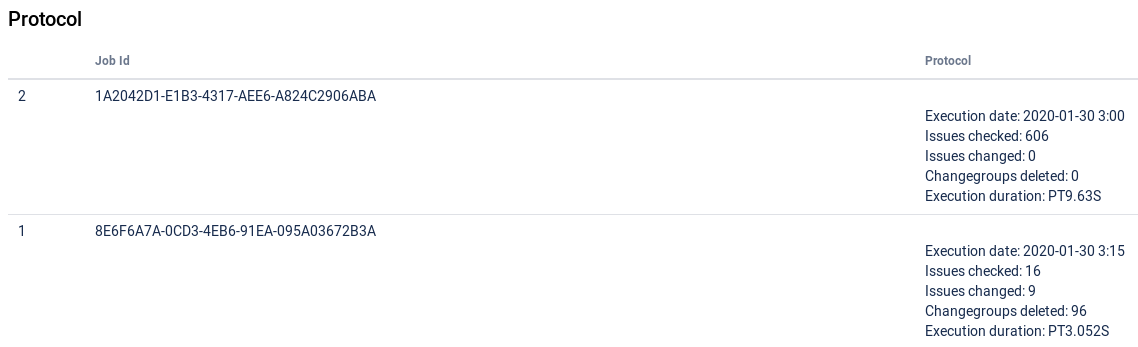
At the bottom of the dialog, the log messages of your jobs is displayed in the "Protocol" section.
To delete an existing job, click Delete at the right of the job entry.
To edit an existing job, do the following:
- Click the item you want to change.
- Edit the item(s).
- Click the Update button at the right of the job entry.
