Configure Project Metadata
To use Restricted Role Assignment, you have to create in the affected project two new metadata keys:
PermittedGroupsto specify the group(s) whose members you want to allow to be added to a role.PermittedRolesto specify the role(s) that could be configured by Restricted Role Assignment.
Do the following as Jira administrator:
- Select Manage Metadata from the sidebar on the left in the project administration.
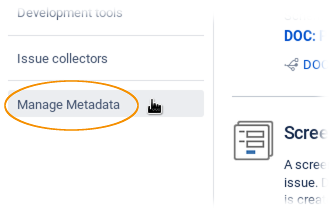
The following dialog is displayed.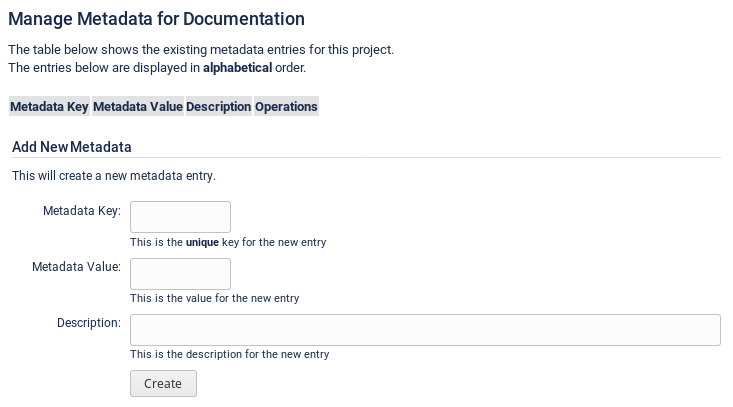
- To configure the permitted groups, do the following:
- Enter the following information:
- Metadata Key: Enter
PermittedGroups. - Metadata Value: Enter the name(s) of the group(s), whose members you want to allow to be added to a role. For multiple group names, use comma to separate them.
- Description: Enter a description for the metadata key (optional)
- Metadata Key: Enter
- Then click Create.
The new metadata is displayed in the list of metadata.
- Enter the following information:
- To configure the permitted roles, do the following:
- Enter the following information:
- Metadata Key: Enter
PermittedRoles. Metadata Value: Enter the name(s) of the role(s), that can be set by a project manager. For multiple role names, use comma to separate them.
- Description: Enter a description for the metadata key (optional)
- Metadata Key: Enter
- Then click Create.
The new metadata is displayed in the list of metadata.
- Enter the following information: