Create a Jira Issue
Once the installation and configuration of the add-in is completed, Jira issues can created directly from emails in Microsoft Outlook.
To create an issue, do the following:
Select the email you want to create a Jira issue from.
By default the body of the email is used as issue description. If you select a part of the email body's text, only the selected text is used as issue description.
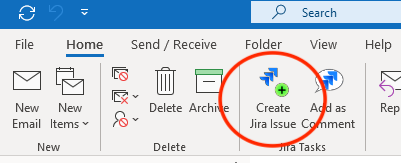
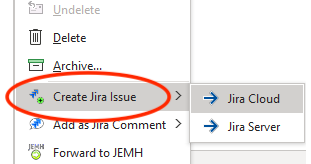
Then select Create Jira Issue from the Outlook menu or from the email's context menu. The splitted context menu will only be shown if there are at least 2 profiles configured.
The following dialog will appear: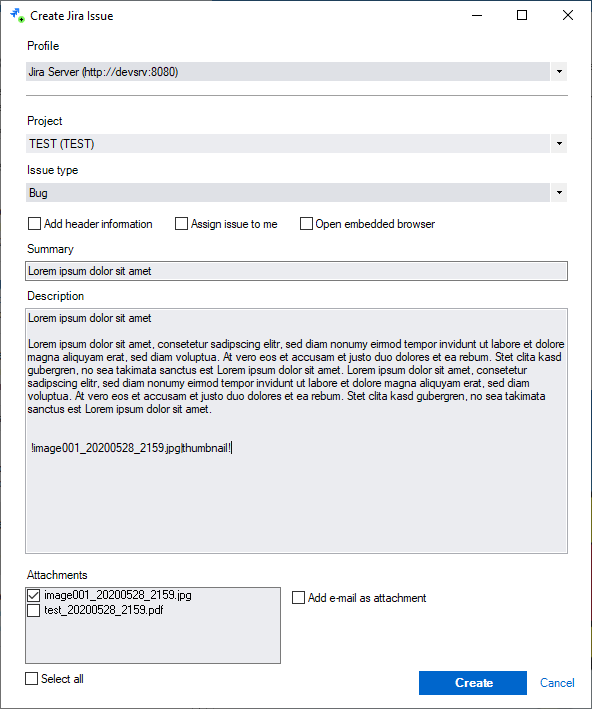
From the Profile pull-down menu, select a server where the issue is created. If you use the email's context menu to open the dialog, the appropiate profile is already selected, otherwise you have to select it.
The Profile pull-down menu is only shown, is there are at least 2 profiles configured.
From the Project pull-down menu, select a project where the issue is created. The content of the menu depends on the selected profile. This menu displays all Jira projects that are visible for you.
To find a project faster, type parts of the project name or project key. Corresponding projects will be suggested.
To completely automate the selection of the project based on the sender's email address, setup rules at Settings > Project Mapping. If no mapping applies the last used profile and issue type will be used.
From the Issue type pull-down menu, select the issue type of the new issue. The content of the menu depends on the selected project. By default the last used issue type based on the last used project is selected.
To add the header information of the email to the issue description, select Add header information.
To select the Add header information by default, select Auto add e-mail header information at Settings > Common.
By default the email header information is not copied into the Jira issue. When you select this option, the header information is also used for the Jira issue description.
To assign the new issue to yourself, select Assign issue to me.
To select the Assign issue to me by default, select Auto assign issue to me at Settings > Create Issue.
To add optional information to the new issue, select Open internal browser.
To select the Open internal browser by default, select Always display internal browser at Settings > Create Issue.
The embedded browser is displayed automatically if you have to enter mandatory information.
Enter the subject of the new Jira issue in the Subject textbox. By default the subject of the email is used.
- Enter the description of the new Jira issue in the Description textbox. By default the text body of the email is used.
A list of the files that are attached to the email is displayed in the Attachments frame. Select the files, you want to attach to the Jira issue. Use Select All to un/select all attachments. The attachments are uploaded after the issue is created successfully.
To select all email attachments by default, select Preselect Attachments at Settings > Attachments.
To add the email as attachment to the Jira issue, select Add e-mail as attachment.
To select the Add e-mail as attachment by default and specify the file format of the attached email, select Always add e-mail as attachment at Settings > Attachments.
If you want to link the attachment within the description, please use [^mail] as placeholder.
- Click Create Issue to continue.
If the issue does not need any additional mandatory information and the Open embedded browser option is not selected, the Jira issue is created.
If the issue needs more mandatory information or the Open embedded browser option is selected, an embedded IE browser dialog opens.
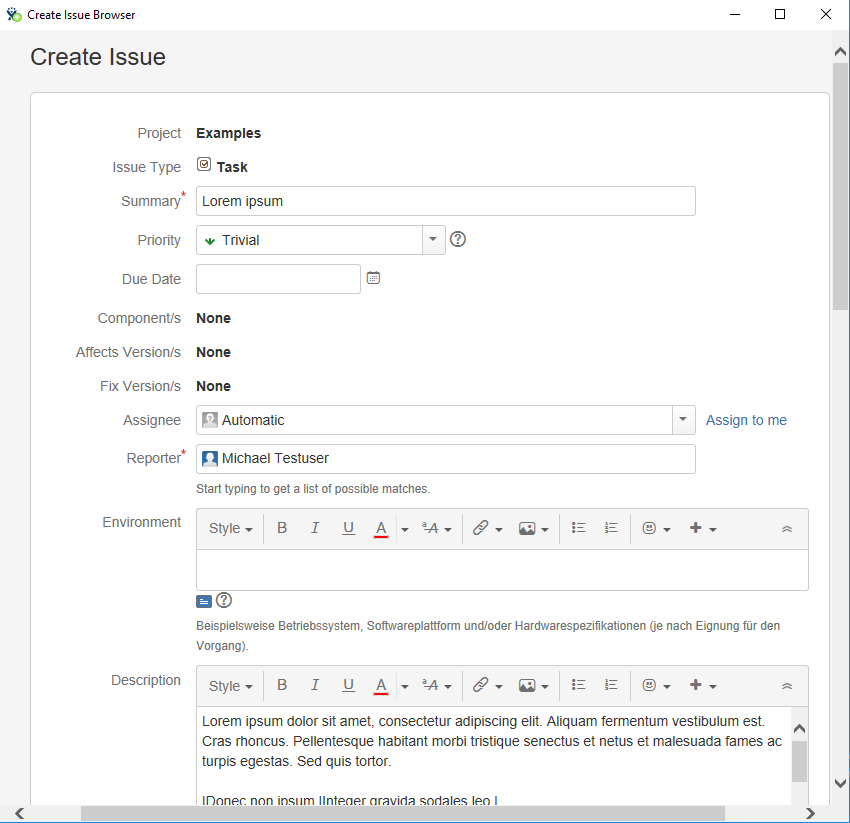
Enter the optional information you want to add and all mandatory information in the embedded browser dialog.
Attachments are not shown in the internal browser dialog, because they will be added after the issue is created successfully. Additionally, you can add further attachments in the internal browser dialog by drag and drop or by uploading from your hard drive. In case the attachments could not be added, you will get an error message.
Select Create in the internal browser dialog to create the issue. To abort and close the dialog, select Cancel or just close the window.