Configure Create Issue Dialog
To configure which fields are editable in the "Create Issue" dialog, do the following as OTRS administrator:
- In the OTRS dashboard, select the Admin tab.
- In the Admin tab, select System Configuration in the "Administration" section.
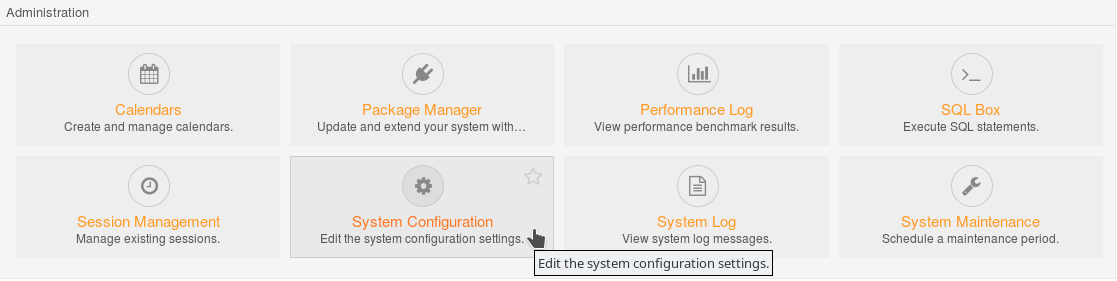
The "System Configuration" dialog appears.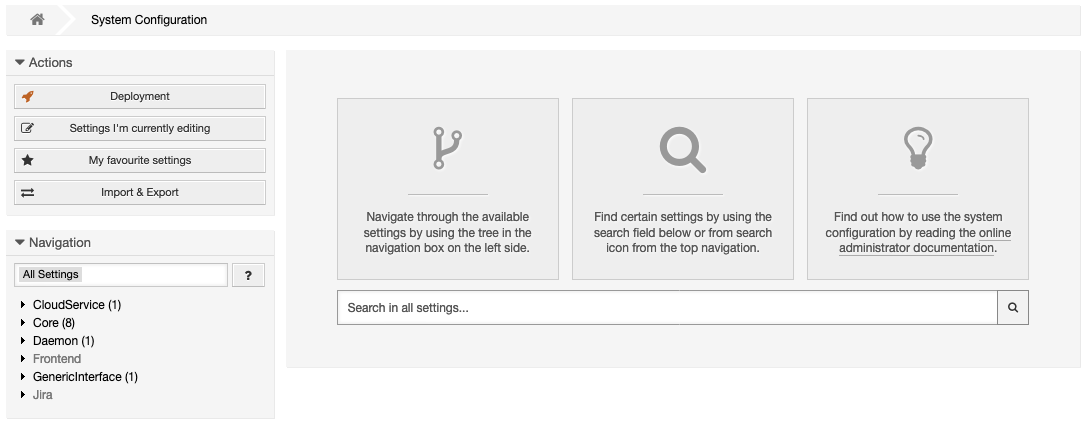
- In the "Navigation" section in the sidebar on the left, select Jira > Create Issue.
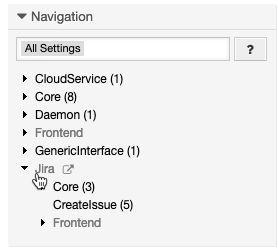
The related settings are displayed on the right. - Make sure "JIRA::SendReporter" is enabled to make the user configured in the "Reporter" field in the REST configuration dialog the reporter of the new Jira issue. Otherwise, select No to prevent the transfer of the reporter. In this case, the OTRS user in Jira is used as reporter.

Click the check mark on the right to activate your changes.
- In the "JIRA::ShowAssignee" section, select Editable to make the Jira assignee editable in the "Create Issue" dialog. Otherwise, select Hide to hide the field.

- Click the check mark on the right to activate your changes.
- In the "JIRA::ShowAutomaticUser" section, select Yes to display the automatic user in "Assignee" field in the "Create Issue" dialog.

- Click the check mark on the right to activate your changes.
- In the "JIRA::ShowIssueType" section, select Editable to make the Jira issue type editable in the "Create Issue" dialog. Otherwise, select Hide to hide the field.

- Click the check mark on the right to activate your changes.
- In the "JIRA::ShowProject" section, select Editable to make the Jira project editable in the "Create Issue" dialog. Otherwise, select Hide to hide the field.

- Click the check mark on the right to activate your changes.